Orchids are the most elegant plants any gardener could grow. I love how they look growing on branches and tree trunks. Unfortunately, this also means that orchids’ roots will absorb water from the air. And that becomes a problem because it can cause the roots getting mushy and rotten. Too much water for orchids means they will eventually fade and the roots are dying. When you first notice the dead orchid roots, it is time for some action to prevent this from happening again. Thus, keep reading to find out in this article the easiest 5 steps towards a safe trimming of dead orchid roots.


1. Thus, begin with rinsing the old potting materials from the roots. You can safely use tepid water and rinse the roots until you see them clearly.
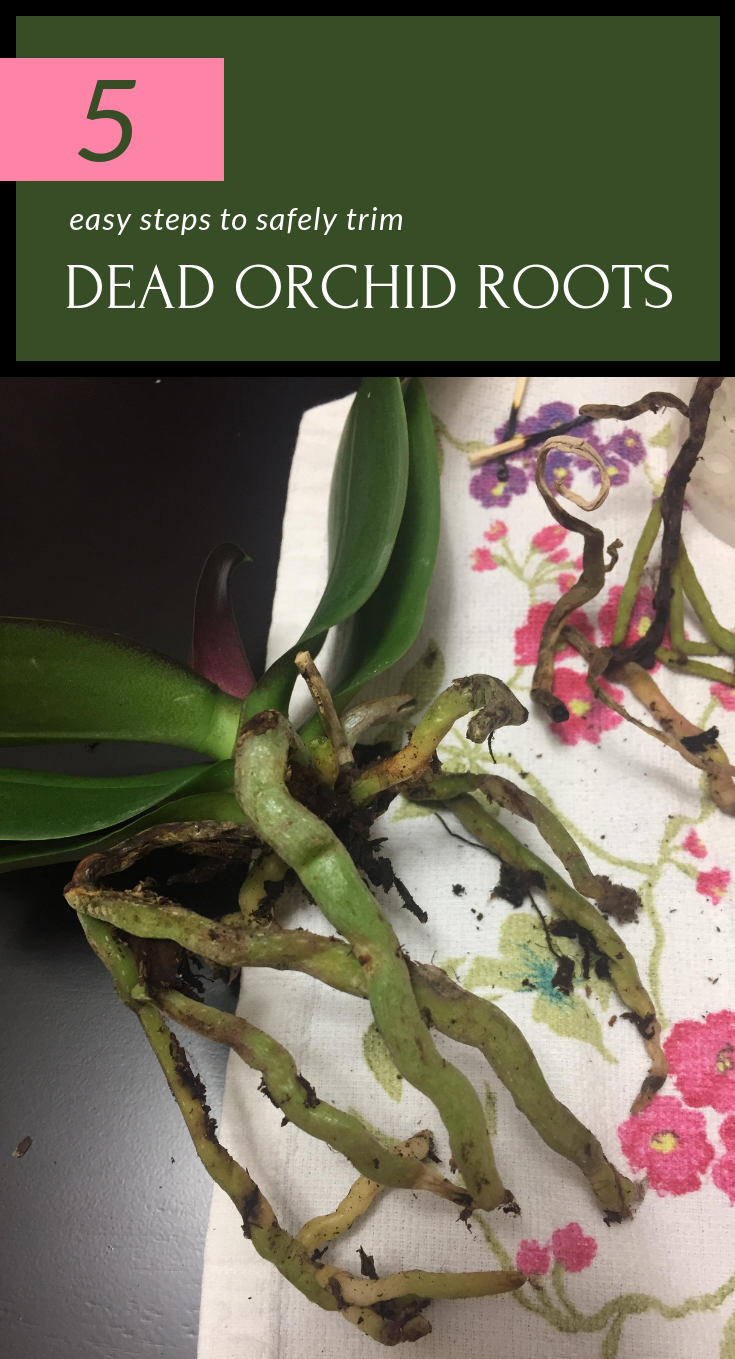
2. Now that you can see them in full sight, check out the dead orchid roots. They look dry, brown and soggy. Furthermore, to completely be sure the root is dead, gently tug on it on your hand. You will notice that if the outer skin of the root slips off to reveal a brown root, it knows no salvation.
3. Hence, knowing which roots should be cut, start trimming them using a sterilized blade, removing them completely. It is always safe to check again the dead roots are completely cut off to ensure a healthy regrow. Thus, check out the orchid again and look that you only have the green plump roots which are the healthy ones.
4. Then, simply repot your orchid every 3 years, when the potting soil becomes soggy and repeat the trimming.
5. Also, another cause for dead roots might be the fungus. Thus, you can treat fungus using powdered sulfur to prevent infecting the healthy roots from suffering the same fate.


0 Comments