Having an orchid for several years and keeping it in the pot it came in is a sure sign that its roots are rotting. There’s nothing to worry about! It happens to everyone. To solve this problem, you need to repot the orchid in a fresh new pot. It’s easy, don’t worry. Here’s how you do it.


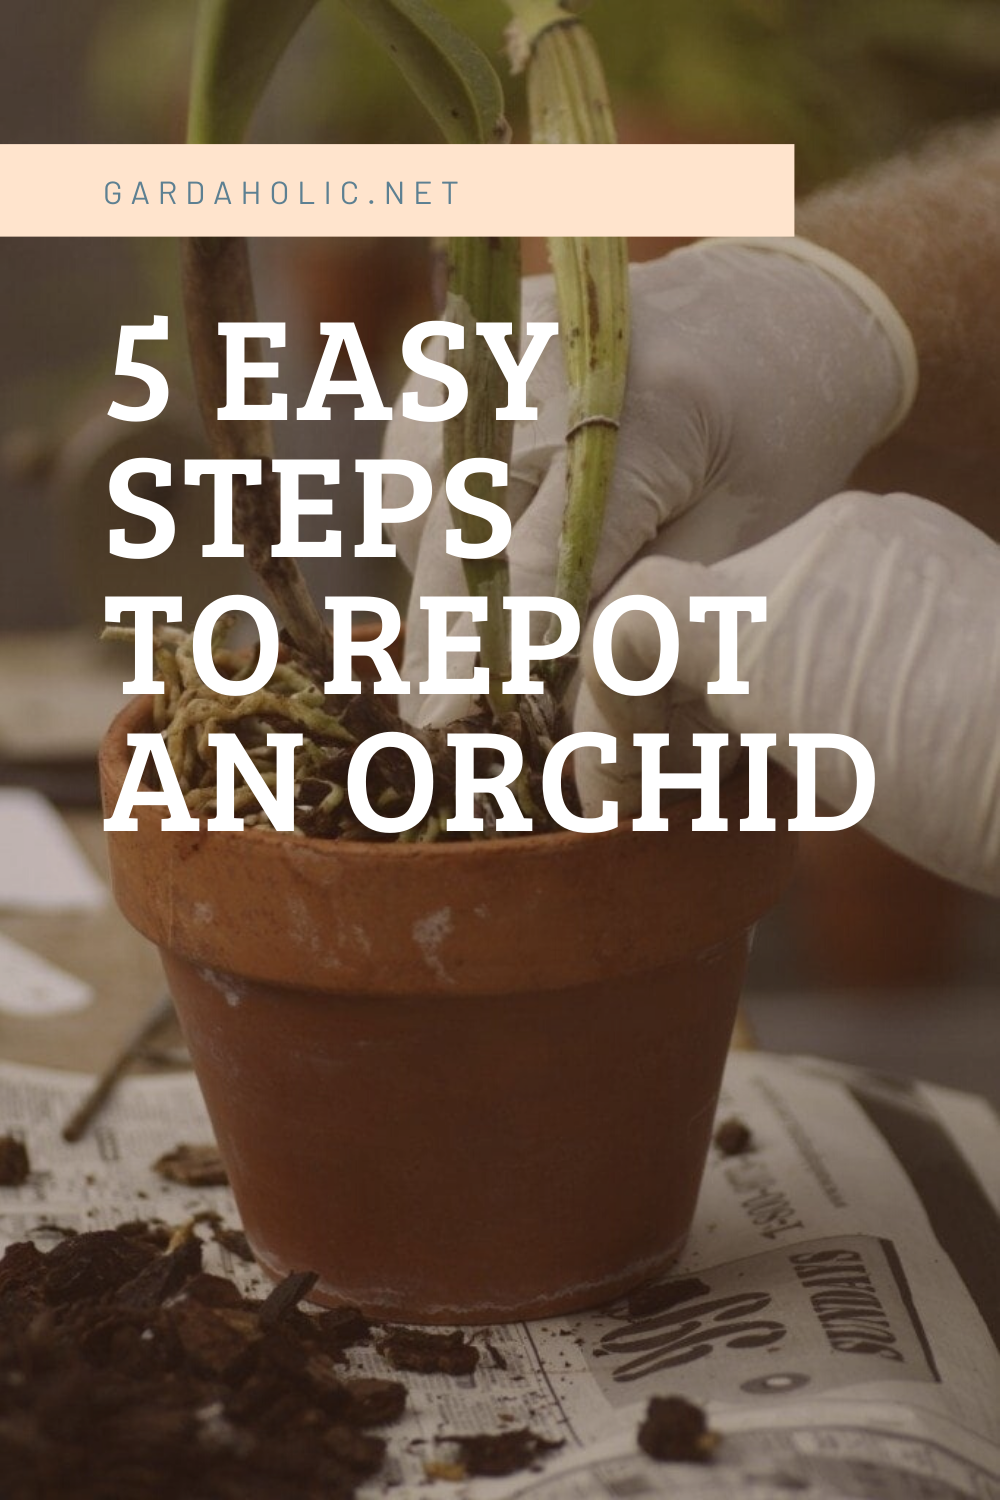
1. First, gently remove all the old media. You don’t want to break off the good roots, so take your time.
2. Now is a good time to give the plant a good rinse. Clean it gently by spraying water on the root.
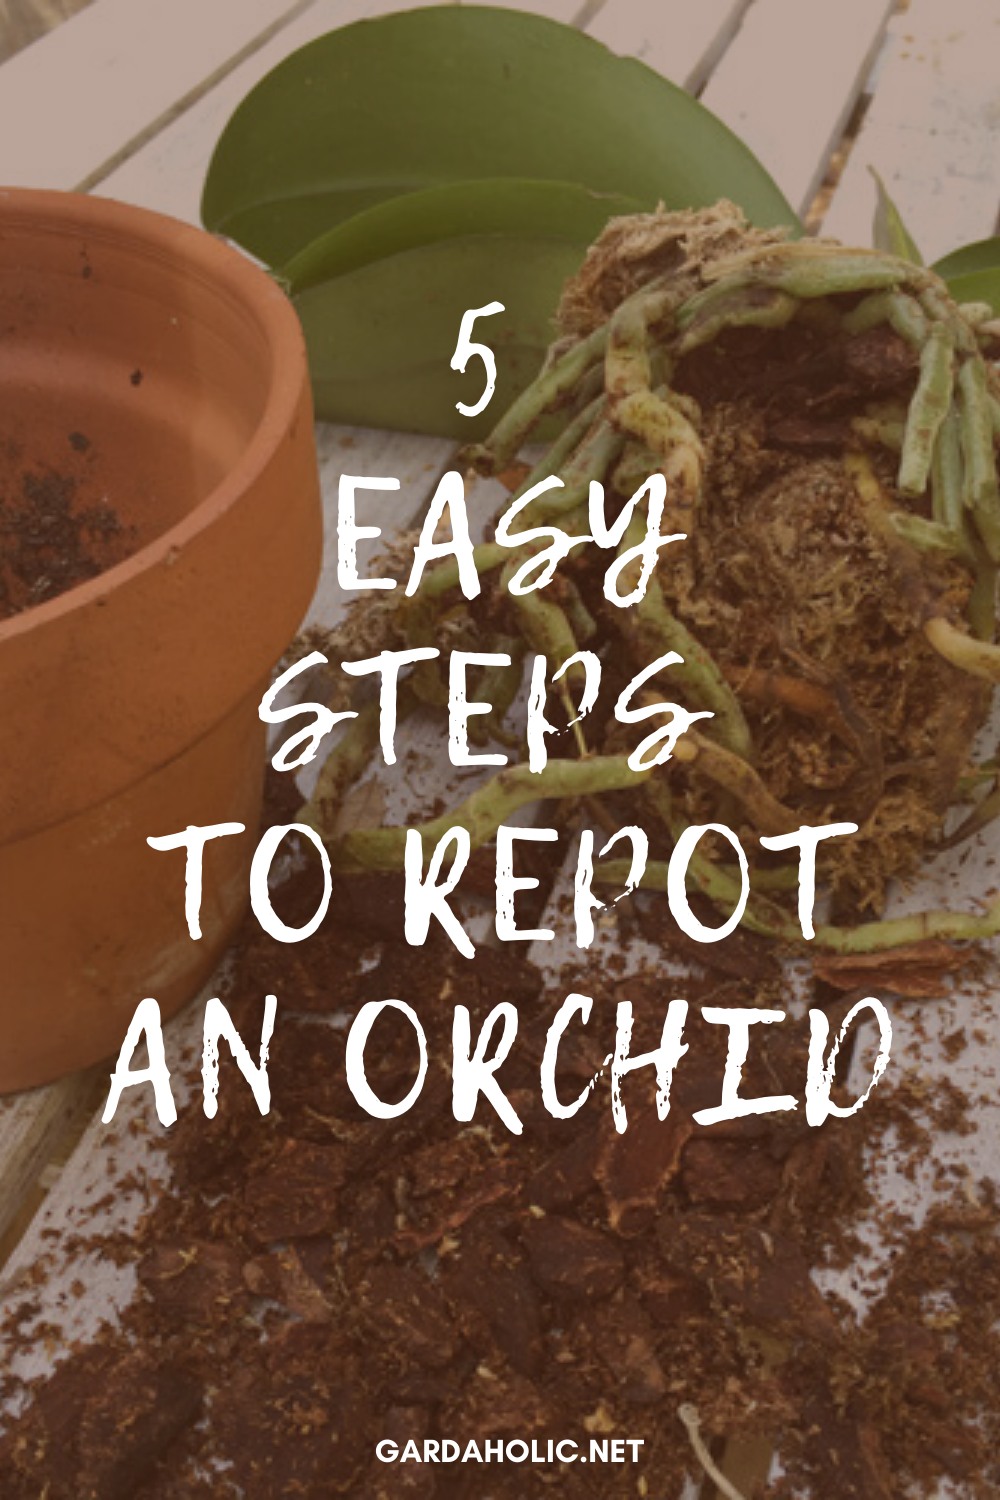
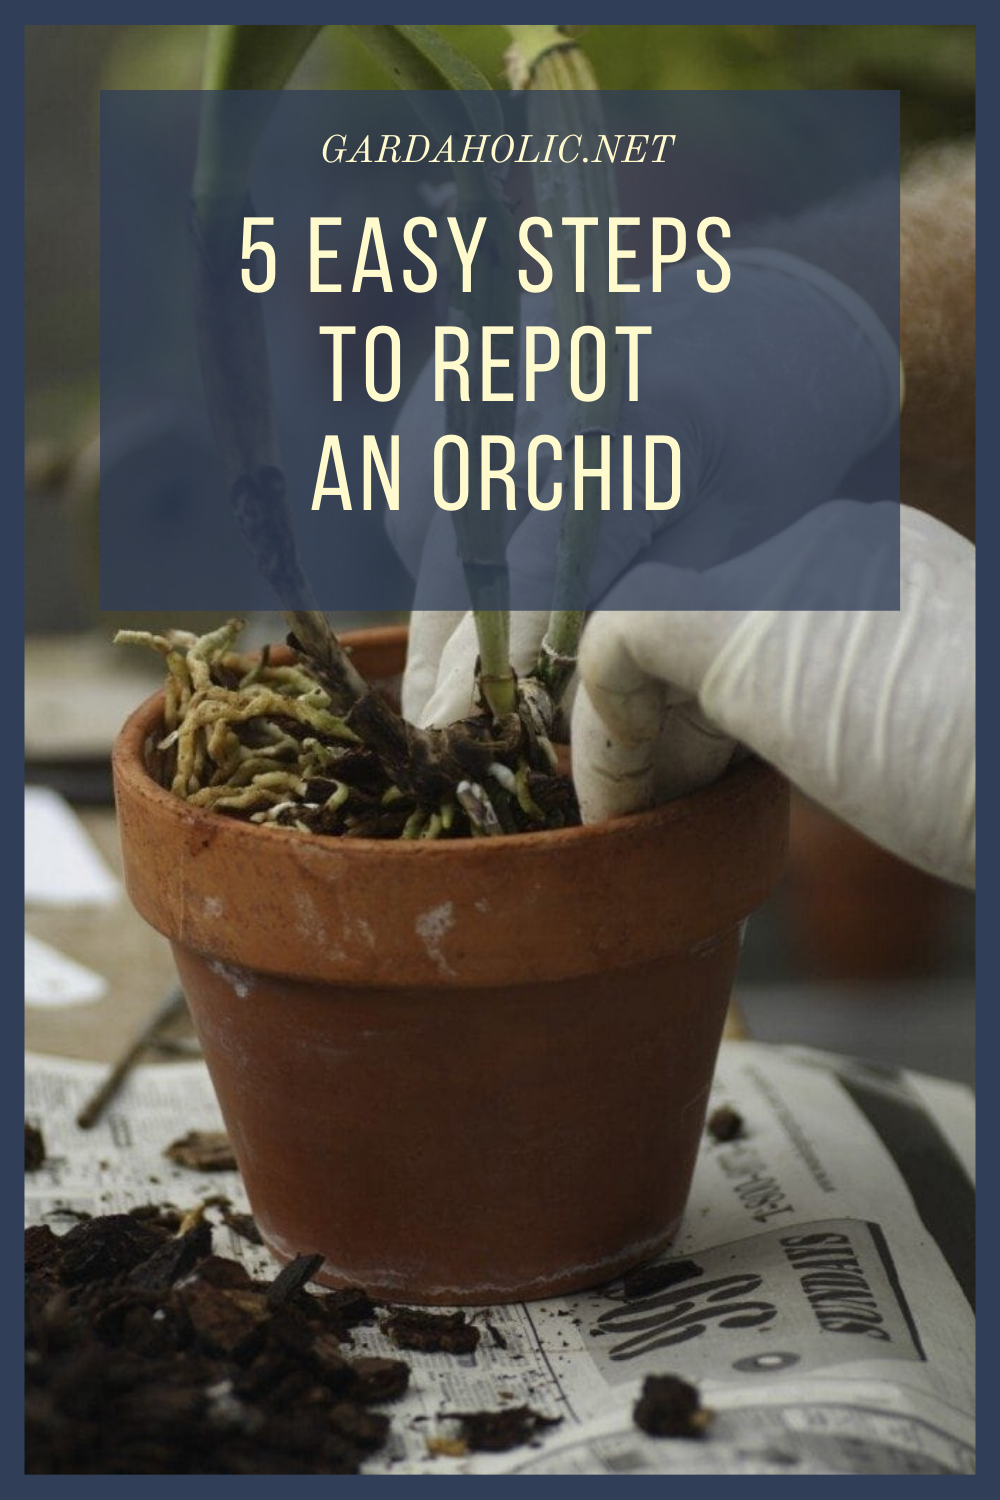
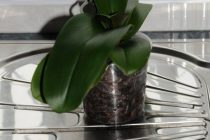
3. Place the clean plant into the new pot and gently add the new media.
Pots: Orchid roots need air, so whatever pot you use, make sure it has plenty of holes in it.
Media: Different orchids like different mixes. Generally, the thicker the root, the bigger the chunks should be.
4. If you water your orchid frequently, use a fast-draining mix like bark, stone, Perlite, and charcoal. Orchids growing in a mix like this will be much less prone to rotting, but will need to be watered every day or two.
Orchids should never be planted in standard houseplant potting soil.
Orchids will thrive without any attention clinging to the bark of a tree if given the right conditions. Taking good care of your orchid does not require expensive equipment – it just requires attention.
5. When you’re done with the repotting, give the orchid a good, thorough soak, making sure all the media is very wet. Then leave it alone and let it dry out before watering again. As a result, the roots should begin to search for water in the pot and begin to grow properly.
![]()


0 Comments